How to Upcycle a Wardrobe: A Comprehensive Guide
Upcycling is a fantastic way to revitalise old furniture, giving your home a fresh look while being environmentally conscious. If you’ve ever wondered how to upcycle a wardrobe, this guide will help you transform your furniture into a beautiful, functional piece. Not only does upcycling let you personalise your space, but it’s also a rewarding DIY project that can save you money.
What Is Wardrobe Upcycling and Why Should You Do It?
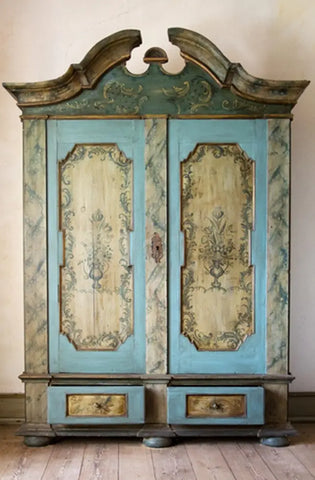
Upcycling a wardrobe involves taking an existing piece of furniture and giving it a new lease of life. Instead of discarding an old wardrobe that no longer suits your style, you can repurpose it with simple updates like fresh paint, new wardrobe handles, or other accessories. The real beauty of wardrobe upcycling is that it allows for complete customisation.
Benefits of Upcycling Your Wardrobe
Upcycling your wardrobe comes with a host of advantages, making it a worthwhile project for any homeowner. Here are some key benefits:
- Cost-Effective: Upcycling is far more affordable than buying new furniture. With just a few materials, you can achieve a high-end look for a fraction of the cost.
- Customisation: Unlike mass-produced furniture, upcycling lets you create a truly unique piece tailored to your style and taste.
- Adds Character: Upcycling brings a sense of personality and history to your furniture, giving your home a distinctive, lived-in feel that brand-new pieces often lack.
- Satisfaction of DIY: Completing an upcycling project provides a sense of achievement and pride. You’ll have the joy of knowing you created something special for your home.
- Extends Furniture Lifespan: Upcycling can breathe new life into an old or worn wardrobe, extending its usefulness and preventing it from ending up in a landfill.
- Encourages Creativity: The process of upcycling encourages you to think outside the box, pushing your creativity and DIY skills to new levels.
Environmental Impact of Wardrobe Upcycling
Upcycling is an environmentally conscious choice that significantly reduces waste. Every year, a huge amount of furniture ends up in landfills, contributing to the growing waste problem. By choosing to upcycle your wardrobe, you’re helping to reduce this waste by giving old furniture a second life.
Step-by-Step Guide to Upcycling Your Wardrobe
Excited to start your upcycling project? Here’s a practical guide on how to upcycle a wardrobe step-by-step. This is meant to be straightforward, even for beginners, but feel free to adapt it based on your skill level and the complexity of the design you have in mind.
Step 1: Preparing Your Wardrobe for Upcycling
The first step in any upcycling project is proper preparation. Before you start painting or adding new hardware, your wardrobe needs to be cleaned and prepped. Use a soft cloth and a gentle cleaner to wipe down the entire surface of the wardrobe, removing any dust, dirt, or grease.
Next, inspect the wardrobe for any damage. Small scratches or dents can be filled with wood filler, while deeper cracks might require more attention.
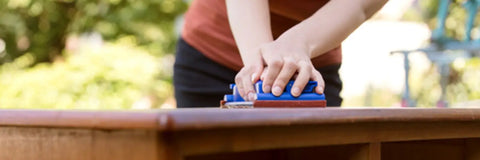
Once any repairs are made, use sandpaper to smooth the surface of the wardrobe. This not only creates a better base for painting but also helps remove any old varnish or lacquer that might mess with your new finish.
Step 2: Choose the Right Materials and Tools
The success of your upcycling project depends on having the right materials and tools. For a basic wardrobe upcycle, you’ll need:
- Paint (preferably one designed for wood)
- Brushes
- Rollers
- Sandpaper
- Painter’s tape
- Screwdriver and drill (if you plan on adding new hardware)
When choosing paint, think about aesthetics and practicality. Chalk paint is popular for wardrobe upcycling because of its matte finish and ease of use, while latex or acrylic paints offer more durability. Don’t forget to pick up a protective finish like wax or varnish to seal and protect your hard work.
Step 3: Get to Work!
Now that you’ve gathered all your materials and prepared your wardrobe, it’s time to dive into the fun part, actually upcycling! Whether you’re painting, distressing, or adding new hardware (a wardrobe handle fitment guide may be useful here), this is where your creativity comes to life. Don’t worry if things don’t go perfectly; DIY projects are about learning as you go.
Creative Ideas for Upcycling Your Wardrobe
If you’re feeling creatively stumped and unsure how to approach the task, no worries! No one becomes Brodie Neill in a day. There are tons of tried and tested upcycling techniques you can lean on, such as:
Painting and Distressing Techniques
One of the simplest yet most effective ways to upcycle a wardrobe is by painting it. A fresh coat of paint can completely change the look and feel of your wardrobe, allowing it to blend nicely with your current decor. Whether you go for a bold, statement colour or something more muted, painting is a quick way to refresh an old piece.
For a more rustic or vintage effect, you can try distressing the wardrobe. This technique involves painting the wardrobe, then lightly sanding certain areas, usually the edges or corners, to give it a worn or aged look. Distressing works particularly well with chalk paint and is ideal if you’re aiming for a shabby-chic aesthetic.
Adding New Hardware and Accessories
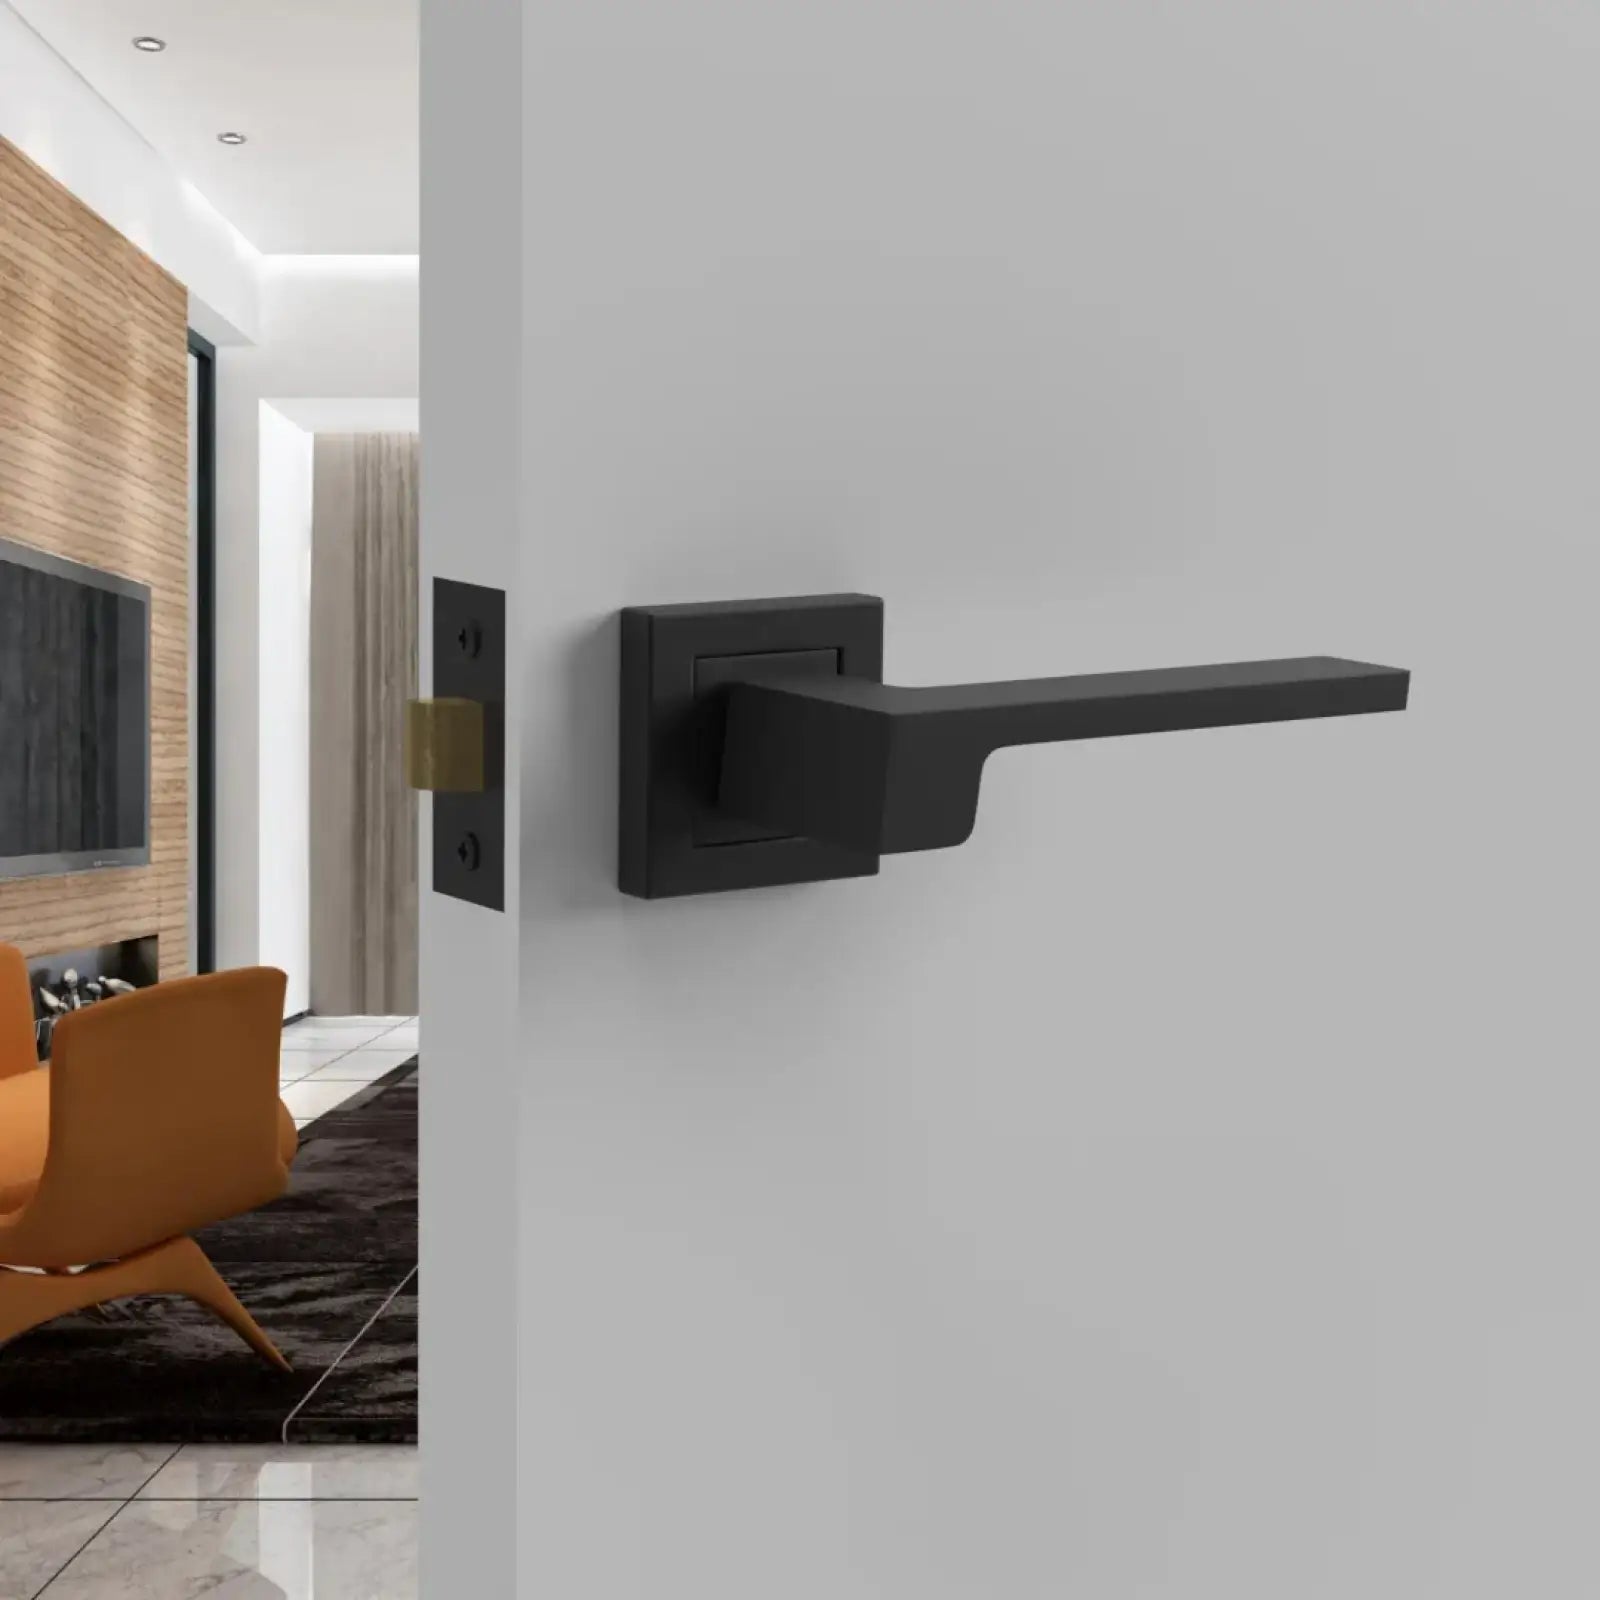
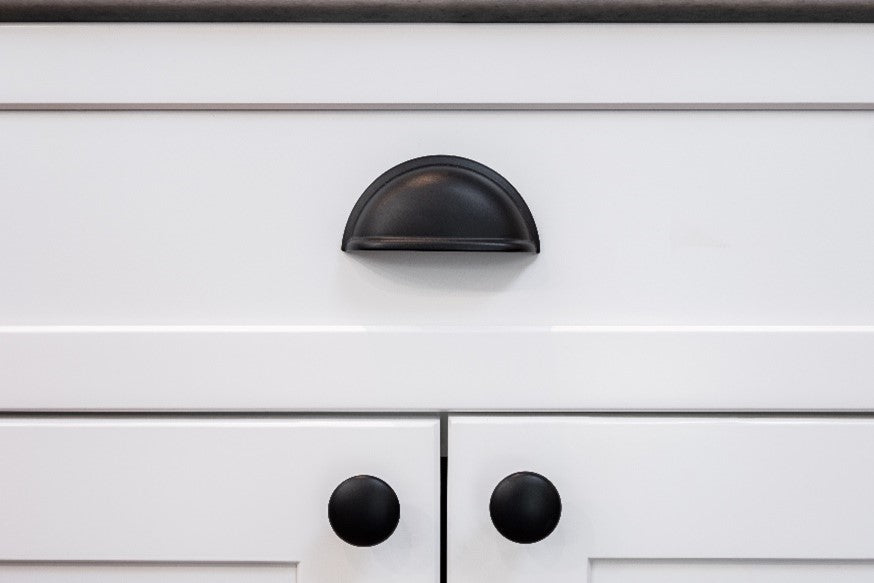
Upgrading the hardware on your wardrobe can have a huge impact on its appearance. Swapping outdated knobs for modern, stylish wardrobe handles is an easy way to elevate the entire piece. Decor and Decor offers a range of handles and knobs in different styles, from vintage brass handles to gold wardrobe handles or sleek D-handles.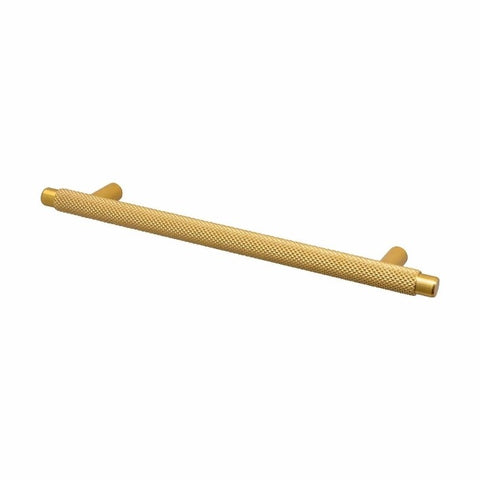
Beyond hardware, you can add more personal touches with accessories like mirrors, hooks, or even fabric panels. For example, you might add a full-length mirror to the inside of the wardrobe door or line the interior with decorative wallpaper. These little details can take your upcycled wardrobe to the next level, making it both stylish and functional.
How to Maintain and Care for Your Upcycled Wardrobe
Once you’ve successfully completed your wardrobe upcycle, proper care and maintenance are key to ensuring it stays in top condition for years to come. This involves proper cleaning and prevention of wear and tear.
Cleaning Tips for Upcycled Furniture
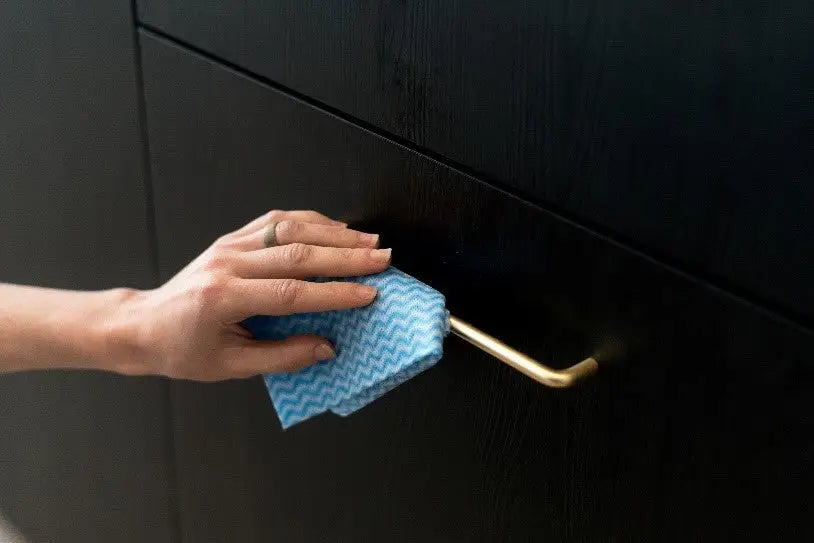
Cleaning your upcycled wardrobe is simple but essential. Dust it regularly with a soft, dry cloth to keep the surface clean. If your wardrobe has a painted finish, avoid using harsh chemical cleaners that could damage the paintwork. Instead, opt for a mild soap solution and a damp cloth for any deeper cleaning needs.
Preventing Wear and Tear
It’s important to take precautions to prevent wear and tear with your upcycled wardrobe. Regularly check the hardware, such as handles and hinges, to ensure they remain securely fastened. If you notice any signs of chipping or scratching, a quick touch-up with matching paint can restore the wardrobe's appearance.
Common Mistakes to Avoid When Upcycling a Wardrobe
As with any DIY project, there are a few pitfalls to avoid when learning how to upcycle a wardrobe. By steering clear of these common mistakes, you’ll ensure a smooth, successful project.
Overestimating Your DIY Skills
It’s easy to get carried away when planning an upcycle project, but it’s important to stay realistic about your DIY skills. If you’re a beginner, stick to simpler techniques like painting or changing hardware before attempting more complex tasks like distressing or decoupage. Starting small will help build your confidence and avoid unnecessary frustration.
Choosing the Wrong Paint or Finishes
Using the wrong type of paint can quickly ruin your upcycle project. Make sure you choose a paint that is specifically designed for wood furniture, as standard wall paint won’t hold up over time. Additionally, be careful when mixing finishes (water-based paints and oil-based varnishes don’t mix well and can cause peeling or bubbling).
We’re Here to Help!
Ready to get started on your next upcycling project? Be sure to explore our wide range of premium handles, knobs, and accessories to complete your upcycled masterpiece. We’re also just an email or phone call away, should you need any advice.
FAQs
How do I choose the best paint for upcycling a wardrobe?
Choose a paint specifically designed for wood furniture, such as chalk paint or latex. Chalk paint gives a matte finish and is easy to distress, while latex is more durable and ideal for high-use areas. Make sure to also consider the colour and finish to complement your surrounding decor.
Can I upcycle a wardrobe if it has significant damage?
Yes, but repairing the damage is essential before starting the upcycling process. Use wood filler for cracks or holes and sand the surface to create an even base. More serious structural issues may require additional repairs or professional help.
How long does it take to upcycle a wardrobe?
The time required depends on the complexity of the project and your skill level. A simple paint job might take a day or two, while more intricate techniques like stenciling or distressing can take longer. Be sure to allow extra time for preparation, drying between coats, and any touch-ups.


